DIY: -40 Degree Down Sleeping Bag


![]() Reviewed by
Reviewed by
Ross Mallick
+26
 March 18, 2019 (original Mar 15, 2019)
A DIY down -40 degree bag can be made for under $100 if secondhand materials are used and purchased at a steep discount. The features can be identical to commercial products of the same temperature rating.
Pros
- Can be made at 1/10th the price of $1,000 bags
Cons
- Requires sewing and lengthy shopping for parts
 Baffle mesh pulled through 8-inch zipper
 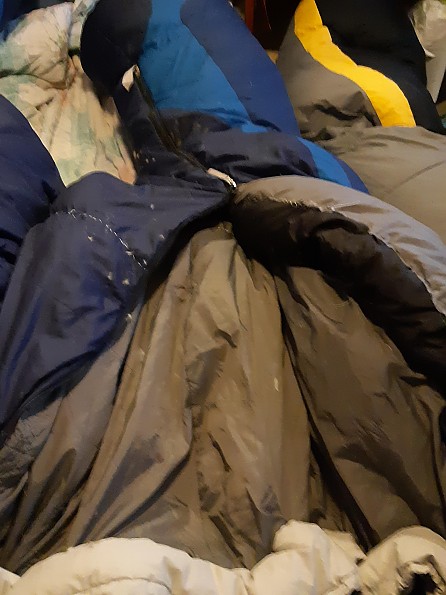 Draft neck collar and zipper draft tube installed
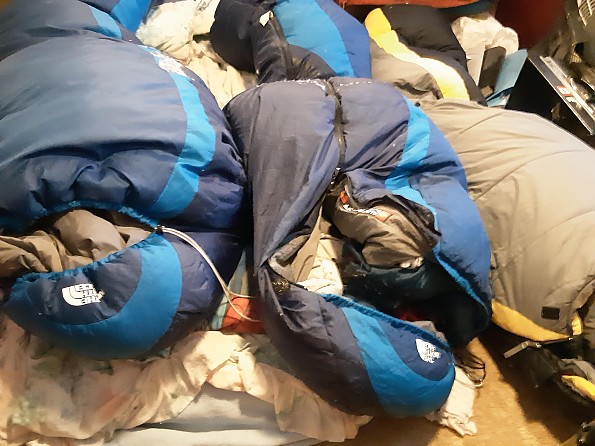
Three sleeping bags partly filled with down for spring, two North Face Aleutians and a Mountain Hardwear Pinole
Down bags in the -40 degree range cost about $1,000 give or take a couple hundred depending on the model. Many of the complaints about them center on their price which is a bit much for many campers.
Not wanting to pay that much, but not having the skills to operate a sewing machine, I decided to sew it by hand. I had not the energy or time to make it from scratch so chose to try modifying existing models.
The search for bags started with heavily discounted new mummy bags typically used in cold weather. Secondhand bags could have been bought for around $10, but I splurged by buying new for $50.
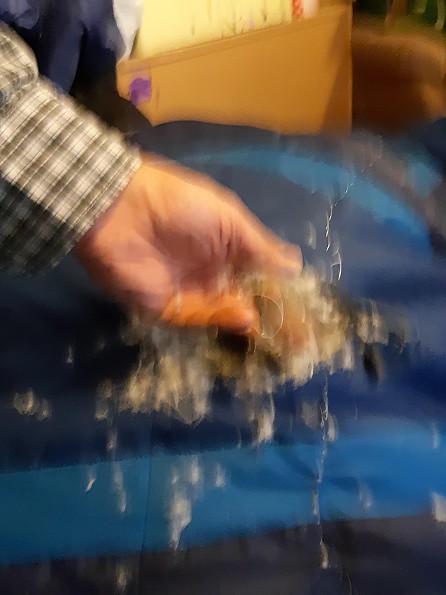
The synthetic fill is removed by cutting an 8-inch or so slot about halfway down the bag lengthwise and sewing and/or gluing in a short zipper to give future access. The insulation is torn out of the bag through the hole by hand to the extent possible. It is then turned inside out through the hole which should by then be possible having already removed enough of the insulation. The hole can be lengthened so this can be done should it be too big to pull out. The remaining insulation is then removed. It may be useful to leave strips of insulation along the sewn together pieces commonly found at the head and feet to prevent seam separation.
This was the easy part. The prospect of trying to sew in baffles led me to look into buying an existing down bag with a higher temperature which could be stuffed with extra down. However this would have required cutting holes in each baffle. These lower end bags even if not sewn through had a baffle height at the seams of only 1 or 2 inches which would have been inadequate at -40 degrees. Buying a synthetic bag was easier and cheaper as the insulation was easy to remove, and without baffles a loft of over a foot could be obtained which is needed for extreme cold weather bags.
The only ingredient left was down. It can be purchased at the fill power desired on its own, but the high price meant I would be better off buying a ready made one and saving the work. I obtained secondhand down from thrift shops selling down jackets. The problem was most were in such good condition that I preferred to use them as jackets which could be used all winter long instead of just in winter camping. I ended up using duck down more often as a result instead of the preferred goose down. As the jacket collection increases the existing duck down will be removed in favor of goose down, hence the need for a zipper accessed hole.
I tested the first prototype on a hiking trip in mid-winter with poor results. The down migrated to the feet as there were no baffles and the cold caused severe pain in a shoulder I had previously injured. Having forgotten the painkillers in my car I had a very poor sleep. The shoulder spot in the bag had no insulation whatsoever as it had migrated elsewhere.
I modified the bag with a single baffle half way along the zippered hole so down could be added to both torso and foot sections. This required removing the down and turning the bag inside out. This is difficult to conceptualize and I failed at attempting to make a drawing that would clarify the process. However I was able to do this simply enough without having to work with my hands inside the bag. A single strip of noseum No. 5 mesh was used but other materials to retain the down can also work well.
A single baffle is used for the whole bag to save work and enable the adding or subtracting of down as it is needed for different temperatures. If enough down is removed it could be used as a summer bag perhaps even at 40 C above zero. This way a single bag can be used wherever you live on the planet in every season. Adding more baffles would prevent down shifting but would reduce flexibility in redistributing it to needed areas. As down will make a mess it is best done outside to avoid cleaning up.
On the inside of the bag I added a couple of draft collars sewn from old bag material, as well as a zipper draft tube. The outside looks like any other brand name bag, and still retains its brand name, except it lofts far beyond the original model and looks more like a $1,000 bag.
Background
This is an ongoing project. My next improvement will be sewing in a second zipper instead of or as well as a zipper draft tube. As I obtain better down the bag will get lighter and loftier.
Source: Thrift stores for second hand down jackets and new brand name bags at outdoor stores